There’s something undeniably magical about biting into a warm, pillowy pita bread fresh from your own oven-a tender pocket of fluffy goodness that carries not just flavors, but the satisfaction of having crafted it yourself. While store-bought options can be convenient, homemade pita elevates every meal with its soft texture, subtle yeasty aroma, and that delightful pocket just waiting to be filled. In this simple guide, we’ll unravel the art of crafting perfect homemade pita bread, transforming a few humble ingredients into a culinary canvas that’s as fun to make as it is delicious to eat. Whether you’re a seasoned baker or a curious kitchen adventurer, preparing pita from scratch will soon become a beloved ritual in your cooking repertoire.
Crafting Perfect Homemade Pita Bread: A Simple Guide
Crafting perfect homemade pita bread is a rewarding culinary journey that transforms simple ingredients into a soft, fluffy, and delightfully pocketed flatbread. Originating from the Mediterranean and Middle Eastern kitchens, pita bread is cherished for its versatility and charming “pocket” that cradles your favorite fillings with ease. This guide unfolds how to select the finest ingredients and master the mixing, kneading, and baking techniques to elevate your homemade pita to bakery-quality perfection.
Prep and Cook Time
Preparation: 15 minutes | Rising: 1 hour 30 minutes | Baking: 5 minutes
Yield
Makes 8 medium-sized pitas (about 6-7 inches each)
Difficulty Level
Easy to Medium – perfect for both beginners and seasoned home bakers
Ingredients
- 3 ½ cups all-purpose flour, sifted for aeration and lightness
- 1 ¼ cups warm water (around 110°F/43°C) to activate yeast effectively
- 2 teaspoons active dry yeast, blooming is key for that airy texture
- 1 teaspoon sugar, to feed the yeast and enhance flavor
- 2 tablespoons olive oil, for tenderness and subtle aroma
- 1 teaspoon fine sea salt, for balanced seasoning
Instructions
- Bloom the yeast: In a small bowl, combine warm water, sugar, and yeast. Stir gently and let sit for 5-10 minutes until frothy, signaling active yeast.
- Mix dry ingredients: In a large mixing bowl, whisk together sifted flour and sea salt ensuring even distribution.
- Combine and start kneading: Pour the yeast mixture and olive oil into the flour. Using a wooden spoon or your hands, mix until a shaggy dough forms.
- Knead to perfection: Transfer dough to a lightly floured surface. Knead vigorously for 8-10 minutes until smooth, elastic, and slightly tacky but not sticky. This development of gluten is crucial for fluffy pitas.
- First rise: Form the dough into a ball and place in a clean, lightly oiled bowl. Cover with a damp cloth or plastic wrap. Let rise in a warm spot for about 1 hour or until doubled in size.
- Shape the pitas: Punch down the dough gently and divide it into 8 equal pieces. Roll each piece into a ball. Using a rolling pin, flatten each ball into a circle about 6-7 inches in diameter and 1/4 inch thick. Keep them covered to prevent drying.
- Rest before baking: Let the rolled dough rounds rest for 20-30 minutes. This rest allows the gluten to relax, making it easier to create the classic pocket puff during baking.
- Preheat the oven: Place a baking stone or inverted heavy baking sheet in the oven and preheat to 475°F (245°C), ensuring it’s scorching hot for ideal steam formation.
- Bake the pitas: Carefully place 2-3 dough circles onto the hot baking surface. Bake for 3-5 minutes until puffed and lightly golden, with slight charring spots that promise authentic flavor.
- Cool on racks: Remove pitas from the oven with tongs and allow to cool on wire racks, wrapped in a kitchen towel to preserve softness and moist crumb.
Tips for Success: Secrets to Crafting Fluffy Pitas
- Use bread or all-purpose flour: Higher protein content ensures strong gluten development for that signature pocket.
- Warm water temperature matters: Water that’s too hot kills yeast; too cold slows fermentation.
- Kneading consistency: Proper kneading creates smooth, elastic dough – test by gently stretching to a thin windowpane without tearing.
- Preheat baking surface: Hot stone or pan replicates traditional tandoor heat to puff the bread quickly.
- Don’t skip resting: Resting after shaping relaxes dough and encourages pocket formation during baking.
- Store airtight: Wrap cooled pitas tightly in foil or plastic wrap to maintain softness overnight.
Serving Suggestions
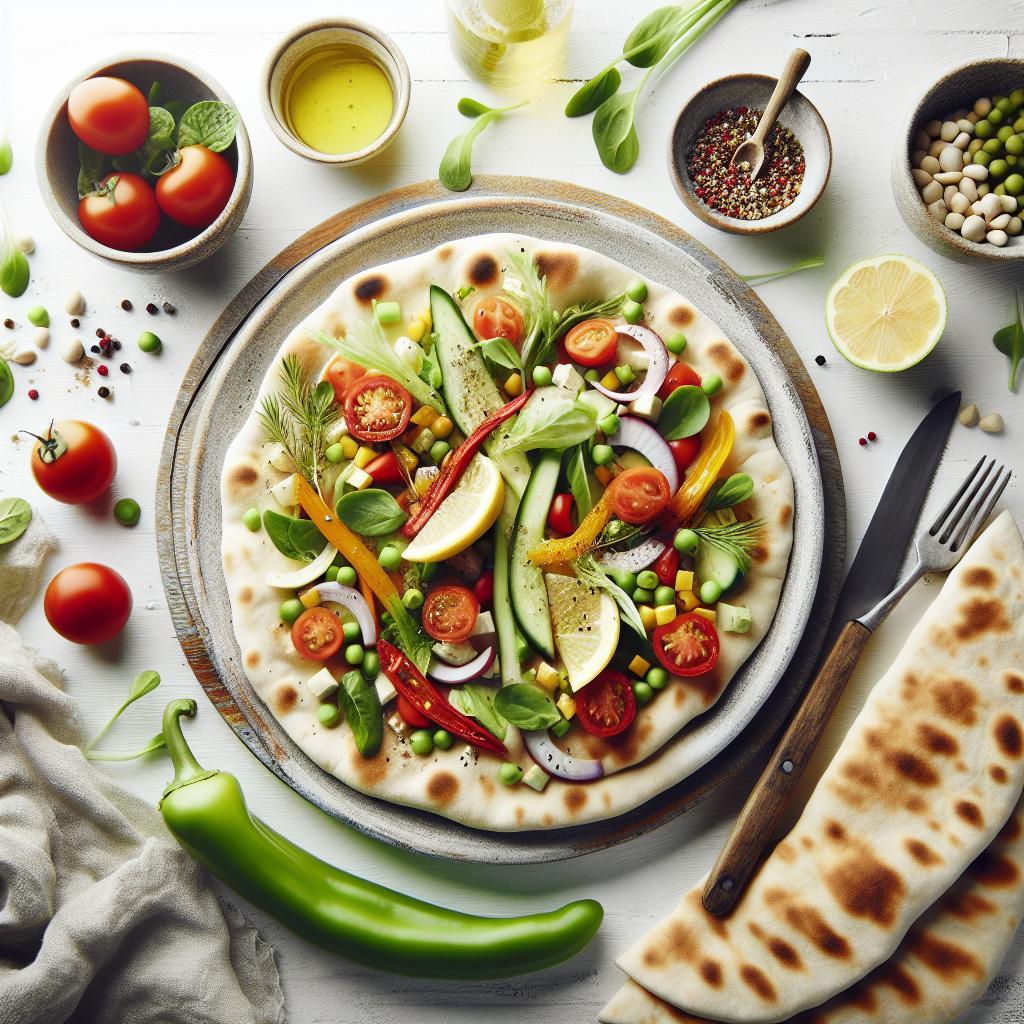
These homemade pita breads are versatile delights. Slice open and fill with your favorite grilled vegetables, hummus, or spiced chicken shawarma. Garnish with freshly chopped parsley, a drizzle of tahini, or a sprinkle of za’atar for a Middle Eastern touch. Serve alongside vibrant tabbouleh salad or creamy babaganoush for an unforgettable meal. Warm pitas just before serving by wrapping in foil and heating briefly in a hot oven to revive their softness and pliability.

| Nutrient | Per Pita (Approx.) |
|---|---|
| Calories | 150 kcal |
| Protein | 5 g |
| Carbohydrates | 30 g |
| Fat | 2 g |
For an extended exploration of flatbreads and their diverse cultural roots, check our Mediterranean Flatbread Varieties article. To deepen your understanding of yeast baking fundamentals, visit King Arthur Baking’s Bread and Yeast Guide.
Q&A
Q&A: Crafting Perfect Homemade Pita Bread – A Simple Guide
Q1: Why should I make pita bread at home instead of buying it?
A: Homemade pita bread brings a fresh, warm, and pillowy experience that store-bought versions often lack. Plus, baking your own lets you control ingredients, avoid preservatives, and customize thickness and size to your liking. It’s not just bread-it’s an artful ritual connecting you to centuries of baking tradition!
Q2: What are the key ingredients needed for homemade pita?
A: With just a handful of pantry staples-flour, water, yeast, salt, and a touch of olive oil-you can create magical pockets of bread. No fancy additives required! The simplicity of the ingredients belies the beautiful texture and flavor they produce together.
Q3: How important is dough resting and kneading in making pita?
A: Kneading develops gluten, giving pita that slightly chewy, sturdy yet soft texture. Resting-the proofing stage-lets the yeast work its magic, producing air bubbles essential for the iconic puff. Patience here transforms humble dough into delightful, pocketed perfection.
Q4: What’s the secret to getting pita to puff up perfectly?
A: The key is baking the pita at a very high temperature-think oven on fire! This sudden heat causes the water in the dough to steam instantly, inflating the dough into a pocket. A baking stone or steel can help mimic traditional brick oven conditions for that ideal puff.
Q5: Can I make whole wheat or gluten-free pita bread?
A: Absolutely! Whole wheat pita offers a nuttier, earthier flavor but may require slightly more water and longer kneading. Gluten-free pita is trickier but achievable with the right flour blends and binders like xanthan gum. Either way, experimentation leads to delightful homemade twists on tradition.
Q6: How can I store and reheat homemade pita?
A: Wrap cooled pitas in a clean cloth to keep them soft, and store in an airtight container or zip bag for up to 3 days. For longer storage, freeze them! Reheat by wrapping in foil in a warm oven or briefly in a hot skillet; avoid microwave reheating, which can make them tough.
Q7: What are some tasty ways to enjoy homemade pita?
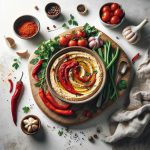
A: Slice your fresh pita into wedges for dipping into hummus or baba ganoush, stuff with grilled veggies and meats to make classic sandwiches, or tear into pieces to scoop up shakshuka or stews. The gentle chew and flavor of homemade pita elevate any meal it accompanies.
Baking pita at home is a simple journey blending science, tradition, and joy. With a bit of flour, heat, and patience, you’ll craft edible pockets of happiness every time!
Concluding Remarks
Mastering the art of homemade pita bread is more than just a culinary achievement-it’s a gateway to endless kitchen creativity and delightful meals. With these simple steps, you’ve unlocked the secret to fluffy, pocketed pita that can elevate everything from humble sandwiches to elegant appetizers. So roll up your sleeves, embrace the dough’s gentle warmth, and let your oven work its magic. Soon, you’ll be pulling warm, golden pitas from the oven, ready to be filled with your favorite flavors or enjoyed straight away. Homemade pita isn’t just bread-it’s a delicious story you craft bite by bite. Happy baking!


