Step into the warm, aromatic world of Italian cuisine with a dish that embodies comfort, tradition, and irresistible flavor-baked manicotti. This beloved pasta classic, with its tender, tubular shells stuffed to perfection and bathed in rich tomato sauce and creamy cheese, is more than just a meal; it’s a celebration of heritage and heart. Whether you’re a seasoned cook seeking to refine your technique or a curious foodie eager to explore authentic Italian flavors, mastering baked manicotti promises a journey of culinary bliss. In this guide, we’ll unravel the secrets to creating this luscious dish, from selecting the perfect ingredients to achieving that golden, bubbly finish that makes every bite a moment to savor. Prepare to transform your kitchen into an Italian trattoria and elevate your dinner table with a masterpiece that’s as rewarding to make as it is delicious to eat.
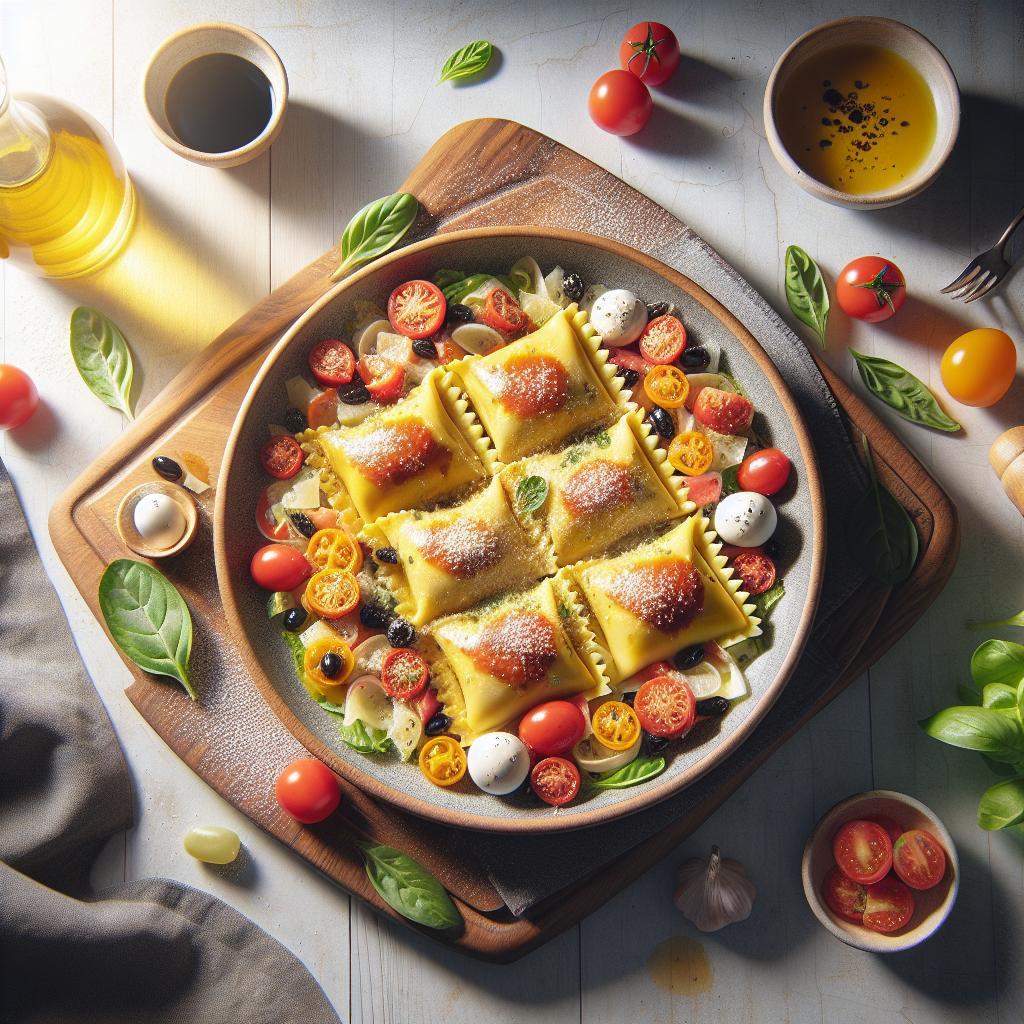
Mastering Baked Manicotti starts with the artful selection of pasta and filling, which lay the foundation for authentic Italian bliss. The tubular shape of manicotti is perfect for holding a luscious ricotta mixture that melts beautifully after baking. When choosing pasta, opt for fresh, large manicotti tubes or homemade crepe-like wraps for a tender bite. Dry manicotti can work but should be boiled al dente to avoid mushiness. The filling is where you capture creaminess and depth-rich ricotta blended with fresh mozzarella, sharp Parmesan, and fragrant herbs create layers of flavor that sing with every forkful.
Choosing the Perfect Pasta and Filling for Authentic Flavor
For the pasta, fresh manicotti tubes absorb sauce superbly and hold their shape during baking. If unavailable, fresh cannelloni pasta sheets or homemade pasta crepes made from eggs and flour offer a supple alternative. Avoid overcooking dry pasta; aim for firm texture so it withstands stuffing and baking.
The filling should combine the smooth creaminess of whole-milk ricotta with shredded mozzarella for meltiness, grated Parmesan for sharpness, and a touch of beaten egg to bind. Fresh herbs like basil and parsley brighten the blend, while freshly grated nutmeg adds subtle warmth. Don’t skip seasoning with kosher salt and cracked black pepper. For a richer bite, consider sautéed spinach or finely chopped mushrooms for earthiness.
Secrets to Crafting the Creamiest Ricotta Mixture
The key to velvety ricotta is draining any excess moisture by wrapping it in a cheesecloth and resting it for 30 minutes. This prevents watery filling that can make baked manicotti soggy. Blend ricotta with shredded mozzarella and Parmesan using a spatula for a rustic texture or pulse gently in a food processor for a uniformly smooth mix. Add a single beaten egg to bind, and stir in fresh herbs, garlic powder, and freshly cracked pepper for vibrant flavor.
Tip: Fold in a tablespoon of heavy cream for ultra-rich creaminess or a spoonful of mascarpone for a silky finish. Avoid overmixing-too much agitation can make the filling gummy rather than light.
Step-by-Step Baking Techniques for Ultimate Manicotti Perfection
- Prepare the sauce: Simmer a classic marinara or creamy béchamel in advance for deep flavor. Spread a thin layer in the base of a greased baking dish to prevent sticking.
- Stuff the pasta: Using a piping bag or spoon, gently fill each manicotti tube with the cream cheese mixture. Avoid overfilling or the pasta may burst during baking.
- Arrange the filled tubes: Nestle manicotti snugly side-by-side in the baking dish atop the sauce, ensuring each one is evenly coated to prevent drying.
- Add topping: Spoon remaining sauce over the manicotti and scatter shredded mozzarella and a Parmesan sprinkle evenly. This seals in moisture and creates a golden crust.
- Cover and bake: Tent tightly with foil and bake in a preheated 375ºF (190ºC) oven for 30 minutes. Remove foil and bake an additional 10 minutes to achieve bubbly, golden cheese.
- Rest before serving: Allow to cool slightly – about 10 minutes – so the filling sets and slices cleanly.
Pairing Your Baked Manicotti with Classic Italian Sides and Wines
Complement your masterpiece with sides that echo Italian tradition. Serve alongside a crisp arugula salad tossed in lemon vinaigrette to cut through richness, or roasted garlic asparagus for gentle bitterness. Finish with a loaf of crusty Tuscan bread to soak up lingering sauce.
Wine pairings elevate the experience: a light-bodied Chianti Classico with bright cherry and herbaceous notes complements the cheesy filling, while a fuller-bodied Pinot Grigio balances creamy béchamel and richness.
Prep and Cook Time
- Preparation: 30 minutes (includes ricotta draining and pasta prep)
- Cooking: 40 minutes
- Total: 1 hour 10 minutes
Yield
- Serves 6 hearty portions
Difficulty Level
- Medium – requires assembling and careful baking
Ingredients
- 12 large manicotti pasta tubes (fresh or dry)
- 2 cups whole-milk ricotta cheese, drained
- 1 cup shredded mozzarella cheese
- ½ cup grated Parmesan cheese
- 1 large egg, beaten
- 2 tbsp chopped fresh basil
- 2 tbsp chopped fresh parsley
- 1 tsp garlic powder
- ¼ tsp freshly grated nutmeg
- Salt and cracked black pepper, to taste
- 3 cups marinara sauce or béchamel sauce
- 2 tbsp olive oil, for greasing
- Extra shredded mozzarella and Parmesan for topping
Instructions
- Preheat oven to 375ºF (190ºC) and grease a 9×13-inch baking dish with olive oil.
- Drain ricotta by wrapping it in cheesecloth and resting over a bowl for 30 minutes to remove excess moisture.
- In a large bowl, combine drained ricotta, mozzarella, Parmesan, beaten egg, basil, parsley, garlic powder, nutmeg, salt, and pepper. Gently mix until just combined.
- Cook manicotti tubes in salted boiling water until al dente (about 7-8 minutes for dry pasta). Drain and run under cold water to stop cooking.
- Using a piping bag or spoon, fill each manicotti tube with the cheese mixture.
- Spread 1 cup of sauce evenly in the bottom of the prepared baking dish.
- Arrange filled manicotti in a single layer over the sauce.
- Spoon remaining 2 cups sauce evenly over the manicotti, then sprinkle with extra mozzarella and Parmesan.
- Cover tightly with foil and bake for 30 minutes. Remove foil and bake for an additional 10 minutes until cheese is golden and bubbly.
- Let rest for 10 minutes before serving. Garnish with fresh basil leaves or parsley if desired.
Chef’s Notes
- Filling variations: Add sautéed spinach, mushrooms, or cooked Italian sausage for additional texture and flavor.
- Make ahead: Assemble manicotti up to step 8, cover, and refrigerate for up to 24 hours before baking.
- Sauce options: Traditional marinara adds acidity, while béchamel creates a creamy, decadent finish.
- Storage: Leftovers keep well covered in the refrigerator for 3 days or frozen for up to 1 month.
Serving Suggestions
Serve baked manicotti on warm plates garnished with fresh basil or a sprinkle of extra Parmesan. Pair with a crisp mixed green salad tossed in lemon vinaigrette and freshly cracked black pepper. A side of roasted garlic bread or grilled vegetables creates a balanced, hearty Italian meal. For wine lovers, a chilled glass of Chianti or Pinot Grigio enhances every bite.

| Nutrient | Per Serving |
|---|---|
| Calories | 420 kcal |
| Protein | 24 g |
| Carbohydrates | 38 g |
| Fat | 18 g |
For more Italian pasta inspiration, check out our Classic Lasagna Recipe and discover how layering flavors can bring dishes to life.
Q&A
Q&A: Mastering Baked Manicotti – Your Guide to Italian Bliss
Q1: What exactly is baked manicotti, and why is it such a beloved Italian dish?
A1: Baked manicotti is a classic Italian comfort food featuring pasta tubes stuffed with a luscious mixture of ricotta, mozzarella, Parmesan, and often spinach or herbs, all drenched in rich tomato sauce and baked until bubbly and golden. It’s beloved because it perfectly marries creamy, savory fillings with tangy sauce and tender, baked pasta-making every bite a symphony of Italian flavors.
Q2: How do I choose the perfect pasta tubes for my manicotti?
A2: Traditionally, manicotti uses large tubular pasta specifically designed for stuffing, but you can also use jumbo shells as a delicious alternative. The pasta should be tender enough to bite through easily after baking but firm enough to hold the filling without collapsing. Look for “manicotti” or “tortiglioni” in the pasta aisle, or cook jumbo shells al dente for the best structure.
Q3: Can I prepare the filling ahead of time?
A3: Absolutely! The filling-a dreamy blend of cheeses, often enhanced with garlic, herbs, and spinach-can be whipped up a day in advance and refrigerated. This not only saves time but also lets the flavors meld beautifully. Just bring it back to room temperature before stuffing the pasta tubes for easier handling.
Q4: What secrets turn good baked manicotti into a show-stopping dish?
A4: The key lies in layering flavors and textures. Use high-quality cheeses and fresh herbs to elevate the filling. Simmer your marinara sauce slowly to deepen its richness. When assembling, don’t skimp on the sauce-coat the bottom of your baking dish well and spoon more on top before baking. Finally, bake until the cheese is melted and bubbling with golden edges-that’s your cue that Italian bliss is ready to serve.
Q5: Is baked manicotti suitable for dietary preferences like vegetarian or gluten-free?
A5: Definitely! Classic baked manicotti is naturally vegetarian when you skip meat in the sauce. For a gluten-free twist, use gluten-free pasta tubes or shells and ensure your sauce and cheeses have no hidden gluten ingredients. There are also delicious dairy-free cheese alternatives if you want to make it vegan-friendly-just pick creamy substitutes that melt well to keep the texture indulgent.
Q6: What sides or drinks complement a hearty serving of baked manicotti?
A6: Baked manicotti pairs wonderfully with a crisp green salad tossed in lemon vinaigrette to cut through the richness. Garlic bread or crusty Italian bread is perfect for mopping up sauce. As for drinks, a robust Chianti or a light, refreshing Pinot Grigio will transport your palate straight to Italy.
Q7: How can I add my own twist while staying true to Italian tradition?
A7: Creativity is the heartbeat of Italian cooking! Experiment with different stuffed fillings-try mushrooms, roasted red peppers, or spicy sausage. Swap classic marinara for a creamy béchamel or spicy arrabbiata sauce. Garnish with fresh basil, crushed red pepper, or a drizzle of infused olive oil to make your baked manicotti uniquely yours while honoring its Italian soul.
Mastering baked manicotti is more than a recipe; it’s an invitation to celebrate Italy’s rich culinary heritage in your own kitchen. Ready to roll up those pasta tubes and bake your way to bliss? Buon appetito!
Future Outlook
As you close the pages of this guide to mastering baked manicotti, let the rich aroma of melted cheese, tender pasta, and savory sauce linger in your kitchen-and in your heart. This Italian classic is more than just a dish; it’s an invitation to slow down, savor tradition, and celebrate the joy of crafting something truly comforting. Armed with these tips and techniques, you’re ready to transform your next meal into a slice of Italian bliss. So gather your ingredients, roll up your sleeves, and let each baked manicotti be a delicious step on your culinary journey. Buon appetito!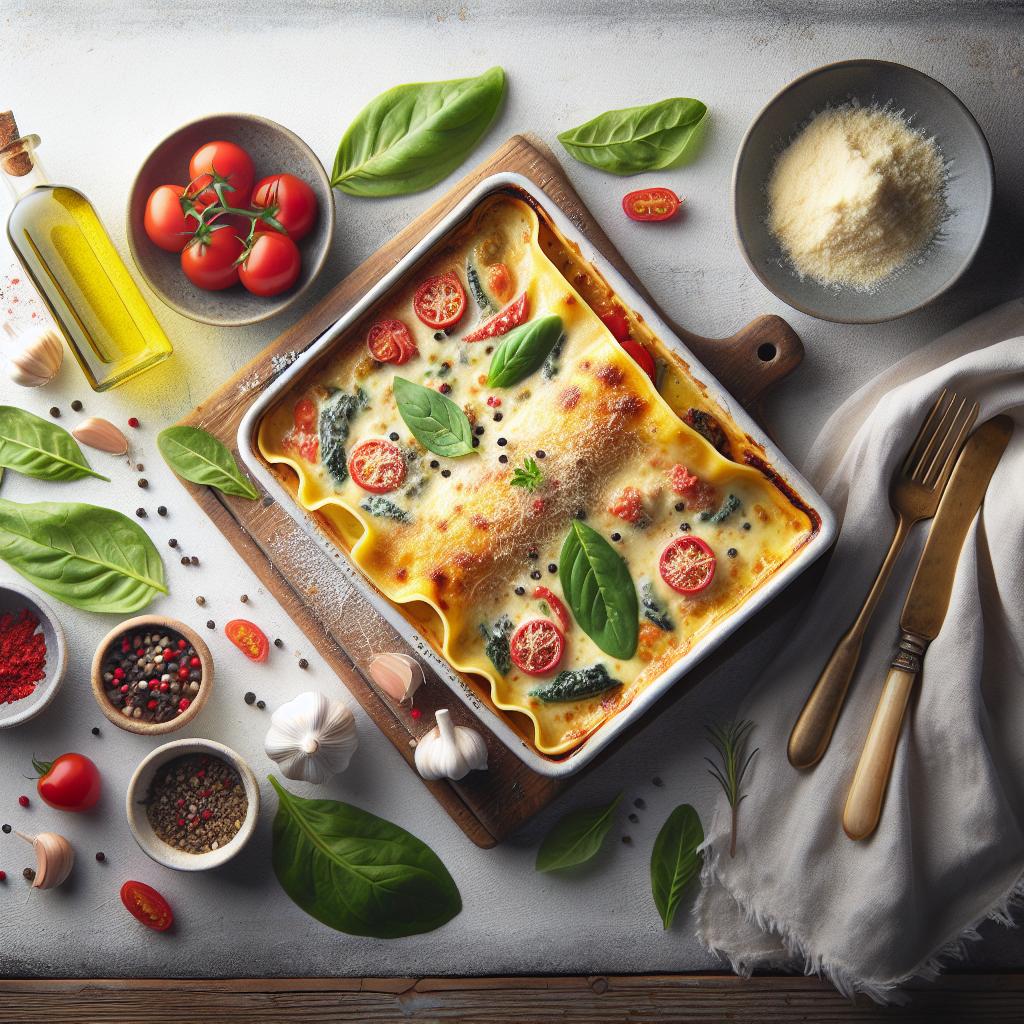


