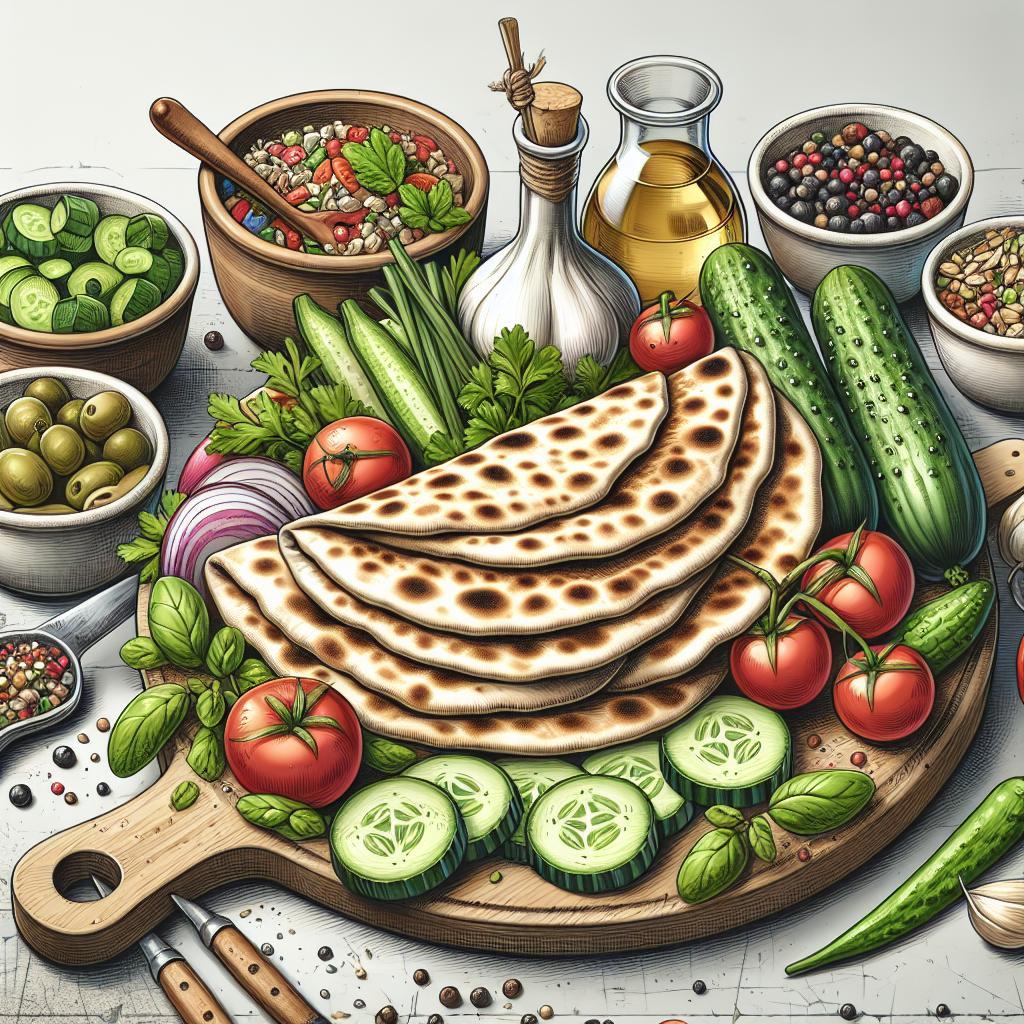
There’s something utterly magical about tearing into a warm, fluffy piece of pita bread fresh from your own kitchen. Its pillowy texture and pocket-perfect center make it the ideal companion for dips, sandwiches, and a myriad of Mediterranean delights. But beyond the allure of store-bought convenience lies the rewarding journey of baking your own pita – a tradition rooted in centuries of culinary artistry. In this article, we’ll walk you through easy, step-by-step instructions to create perfect homemade pita bread that’s fresh, soft, and irresistibly delicious. Whether you’re a seasoned baker or a curious beginner, get ready to transform simple pantry staples into golden rounds of flatbread bliss.
Perfect homemade pita bread is a culinary joy that every kitchen enthusiast should master. Originating from the heart of the Mediterranean, these soft, fluffy flatbreads are celebrated for their versatility and the iconic pocket that easily cradles your favorite fillings. I fondly recall the first time I baked pita; the mesmerizing puff that formed in the oven sparked an instant love for this simple, yet deeply rewarding bread. Perfect homemade pita bread offers an unbeatable combination of authentic flavor, tender texture, and the satisfaction of crafting fresh bread at home – without the need for special equipment.
Prep and Cook Time
- Preparation: 15 minutes
- Rising: 1 hour 30 minutes
- Cooking: 15 minutes
- Total: Approximately 2 hours
Yield
Yields 8 soft, pillowy pita breads, perfect for serving 4 hungry people.
Difficulty Level
Easy to Medium – Ideal for beginners willing to experiment with dough and perfect for seasoned cooks wanting fresh flatbreads made from scratch.
Ingredients
- 3 cups all-purpose flour, sifted
- 1 1/4 cups warm water (110°F/43°C)
- 2 teaspoons active dry yeast
- 1 teaspoon granulated sugar
- 1 1/2 teaspoons fine sea salt
- 2 tablespoons extra virgin olive oil, plus extra for coating
Instructions
- Activate the yeast: In a small bowl, combine the warm water, sugar, and yeast. Stir gently and let it rest for about 5-7 minutes until the surface becomes frothy, indicating the yeast is alive and ready to work its magic.
- Mix the dough: In a large mixing bowl, whisk together the sifted flour and salt. Create a well in the center and slowly pour in the yeast mixture and olive oil. Use a wooden spoon or your hands to gradually bring the dough together.
- Knead: Transfer the dough onto a lightly floured surface. Knead vigorously for 8-10 minutes until the dough is smooth, elastic, and slightly tacky but not sticky. Proper kneading builds the gluten structure essential for that classic pita rise.
- First rise: Lightly oil a large bowl and place the dough inside, rolling it once to coat with oil. Cover with a clean kitchen towel or plastic wrap. Let it rise in a warm, draft-free spot until doubled in size, about 1 hour to 1 hour 15 minutes.
- Preheat your oven: Place a heavy baking stone or an inverted baking sheet in the oven and preheat to 475°F (246°C). This high heat is crucial for the pita to puff perfectly.
- Divide and shape: Punch down the risen dough and turn it onto a floured surface. Divide it into 8 equal balls. Using a rolling pin, gently roll each ball into a 6-inch diameter circle approximately 1/4 inch thick. Avoid pressing too thin to ensure the pocket forms.
- Rest the rounds: Cover the dough rounds with a damp towel and let them rest for 15 minutes. This brief rest relaxes the gluten for a smoother roll and better puff in the oven.
- Bake: Place each round directly on the hot baking surface. Bake them in batches for 2-3 minutes until they puff nicely and the bottoms turn golden with light browning. Flip and cook for an additional 30 seconds to 1 minute.
- Cool and store: Remove pita from the oven and cover with a clean kitchen towel to keep them soft and pliable while cooling. Avoid stacking warm pita without covering to prevent drying out.
Tips for Success
- Flour choice: For even better texture, try blending whole wheat and all-purpose flour to add nuttiness without compromising fluff.
- Temperature matters: Use warm water but not hot; overheating can kill the yeast. Aim for 105°F-115°F (40°C-46°C).
- Oven heat: A hot baking surface is critical to quick puffing. If your oven won’t reach 475°F, preheat as high as possible and extend cook time gently.
- Storage: Once completely cooled, store pita flatbreads in an airtight container or zip-top bag for up to 3 days at room temperature or freeze for up to 1 month.
- Reheating: Warm pita on a hot skillet or wrapped in foil in a 350°F oven for 5-7 minutes to restore softness and pliability.
- Experiment: Add a pinch of za’atar or garlic powder into the dough for subtle aromatic flavor twists.
Serving Suggestions
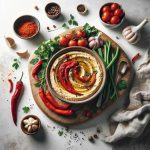
The fresh pockets of perfect homemade pita bread are exquisitely versatile. Use them to wrap grilled chicken shawarma or falafel with crisp lettuce, ripe tomatoes, and creamy tahini sauce. Cut into wedges and serve alongside a vibrant bowl of hummus or smoky baba ganoush, garnished with a drizzle of olive oil and a sprinkle of fresh parsley or sumac. For a charming appetizer, slice and toast pita pieces to make crunchy chips-perfect for mid-day snacking or entertaining guests.

| Nutrient | Per Pita (approx.) |
|---|---|
| Calories | 150 kcal |
| Protein | 5 g |
| Carbohydrates | 29 g |
| Fat | 3 g |
For deeper insights into baking breads and dough science, I recommend exploring King Arthur Baking Company’s extensive bread baking resources.
Q&A
Q&A: Perfect Homemade Pita Bread – Easy Steps to Fresh Flatbreads
Q1: What makes homemade pita bread different from store-bought?
A1: Homemade pita bread is a game-changer! Unlike store-bought versions, fresh pitas are soft, fluffy, and have that delightful pocket that’s perfect for stuffing. Plus, when made at home, you control the ingredients-no preservatives, just simple goodness.
Q2: Is making pita bread from scratch difficult?
A2: Not at all! With just a handful of basic ingredients like flour, water, yeast, and salt, you can whip up fresh pita dough. The secret lies in kneading well and allowing the dough to rest. The process is surprisingly quick and rewarding.
Q3: How do you get that iconic “pocket” in pita bread?
A3: The magic happens during baking. When rolled-out dough discs hit a very hot oven or skillet, they puff rapidly as steam forms inside, creating the pocket. Make sure your baking surface is piping hot to help achieve that perfect puff.
Q4: Can I customize the flavor of my pita bread?
A4: Absolutely! Mix herbs like za’atar, oregano, or garlic powder into the dough for an aromatic twist. You could also brush the pitas with olive oil and sprinkle sesame or nigella seeds before baking for extra flair and crunch.
Q5: How should I store homemade pita bread?
A5: Fresh pitas are best enjoyed same-day but can be kept airtight at room temperature for 2 days. For longer storage, freeze them in zip bags. To reheat, a quick toast or a few seconds on the skillet will revive their softness.
Q6: What dishes pair perfectly with homemade pita?
A6: The possibilities are endless! Stuff pitas with falafel and tahini, layer grilled veggies and hummus, or slice and serve alongside soups and salads. Fresh pita also makes a fantastic base for mini pizzas or quick wraps.
Q7: Any tips for beginners trying homemade pita for the first time?
A7: Patience is key-let your dough rise fully for a tender texture. Use a rolling pin to get even, thin rounds. And don’t fret if the first batch isn’t perfect; every pita you bake is practice for pita perfection!
To Wrap It Up
Baking your own perfect homemade pita bread is more than just a rewarding kitchen adventure-it’s a gateway to countless flavorful possibilities. With these easy steps, you can fill your table with warm, fluffy flatbreads that puff up beautifully every time. Whether tucked around savory fillings, dipped into vibrant spreads, or simply enjoyed fresh from the oven, homemade pita elevates any meal. So roll up your sleeves, embrace the simple magic of flour and yeast, and let your kitchen be filled with the irresistible aroma of fresh-baked pita-because sometimes, the best bread is the one you make yourself.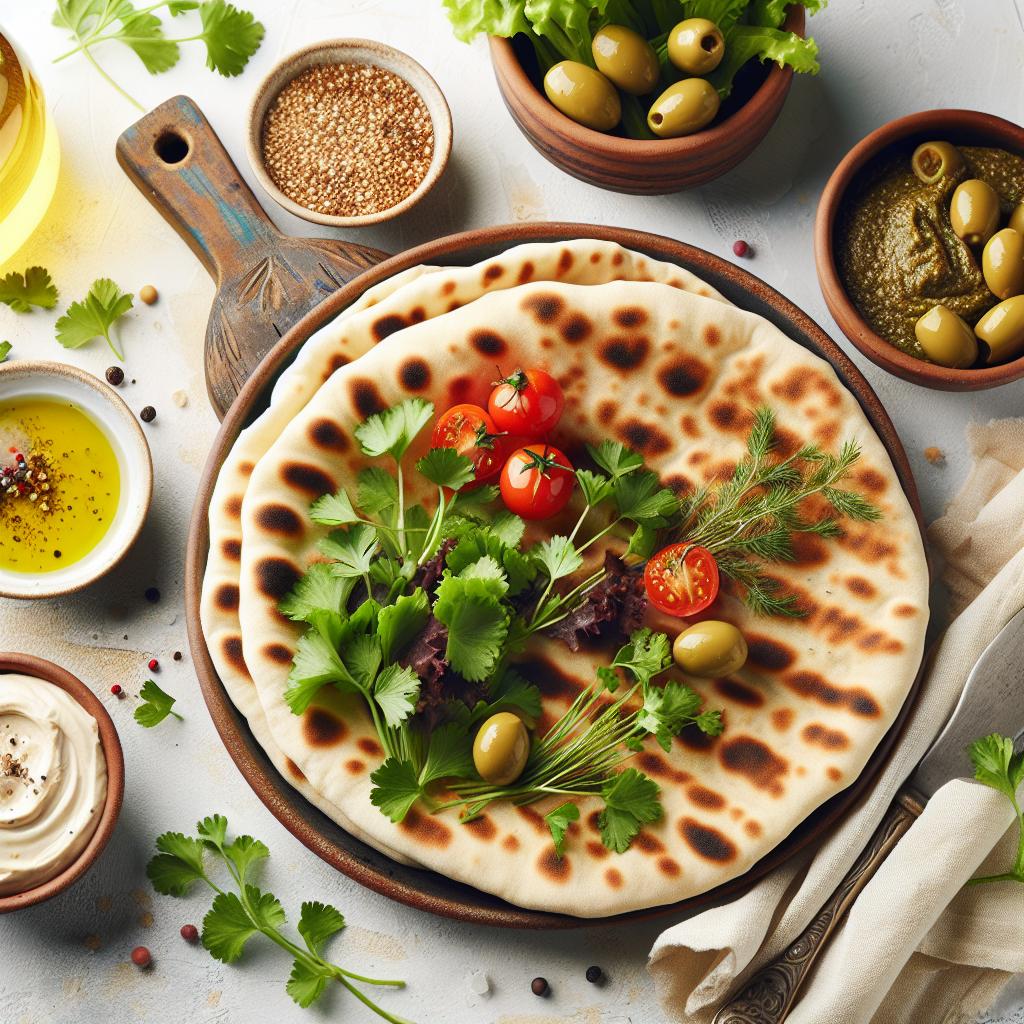


